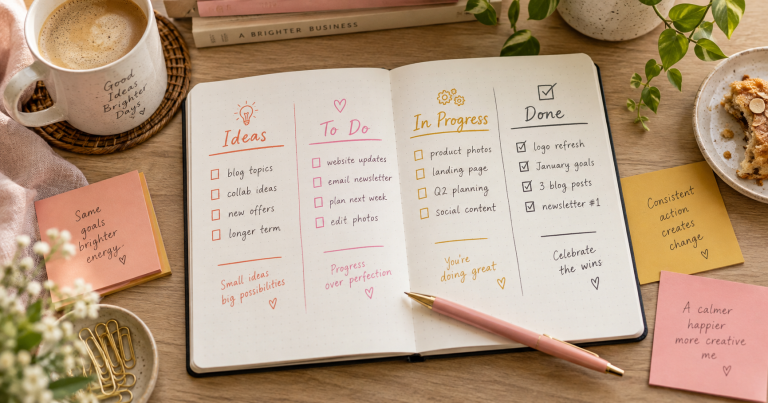
How to Create a Simple Content Plan

A content plan doesn’t need to be a color-coded calendar mapped out a year in advance. For most small businesses and solo creatives, a simple running list works better, because it flexes with your actual time and energy instead of guilting you when life gets busy.
What a content plan actually needs to do
Its only job is to answer “what do I write next?” without you having to think from scratch every time. That’s it. Everything else is optional.
Step 1: Pick a realistic cadence
Once a month, published consistently, beats once a week for three weeks and then nothing for two months. Choose a frequency you can actually sustain around everything else you’re doing, then build the plan around that number.
Step 2: Batch your ideas ahead of time
Sit down once and generate more ideas than you need, using your content pillars as your categories. Aim for at least twice as many ideas as you’ll publish in the next few months. Having a backlog means you’re never starting a writing session with a blank page and no direction.
If you’re short on ideas, the free Blog Post Idea Generator can fill in gaps for a specific pillar or audience in seconds.
Step 3: Track status, not just dates
A useful plan tracks where each post is, not just when it’s due. At minimum, track:
- The working title
- Which content pillar or category it belongs to
- Its status: idea, drafting, ready to publish, or published
- A target keyword or topic, if you’re writing with search in mind
Our free Content Planner tool is built around exactly these fields, saves to your browser automatically, and exports to CSV if you want to move it somewhere else.
Step 4: Review and reshuffle monthly, not daily
Set a recurring reminder to glance at your plan once a month. Move anything that’s stalled, add new ideas as they come to you, and adjust your cadence if it’s not realistic. A content plan you revisit occasionally is more useful than a rigid one you abandon after week three.